
The bladder — the rubber “bag” inside a pressure tank — ages and eventually splits. The tank still looks fine, but the pump starts every time a tap is opened. The good news is that most tanks have a replaceable bladder, and changing it takes about an hour.
What the diagram shows
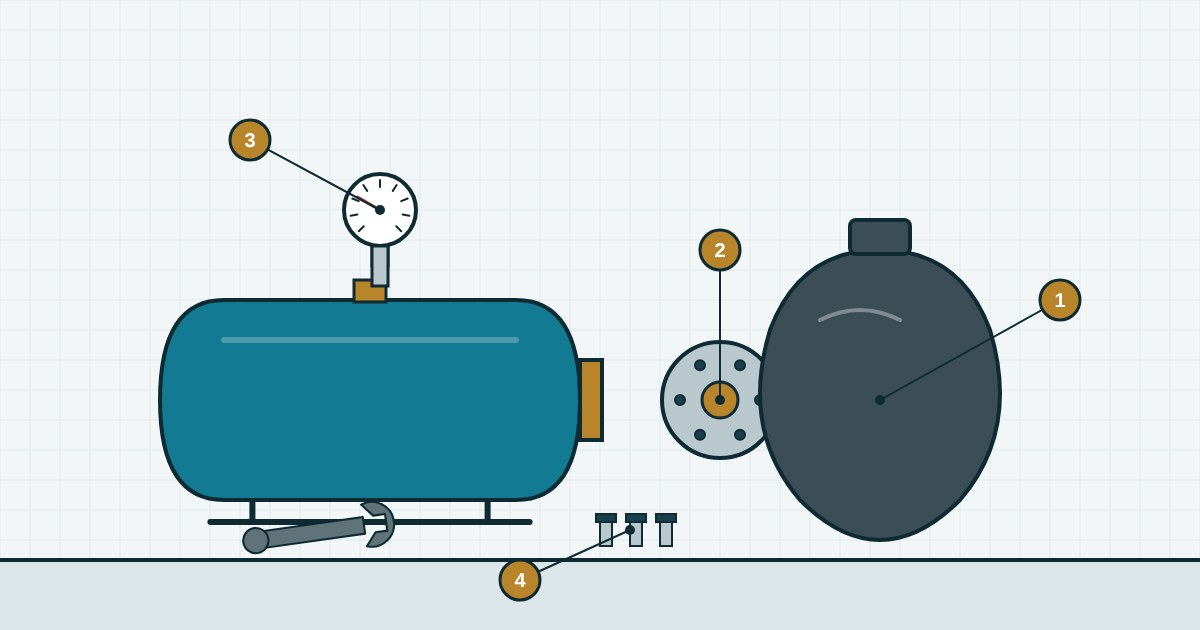
1 — the new bladder, 2 — the removed flange with bolts around it, 3 — a pressure gauge to check the air charge, 4 — the flange bolts.
Signs the bladder has burst
- Briefly pressing the air valve core lets out water instead of air.
- The pump starts as soon as a tap opens and stops as soon as it closes.
- The air charge in the empty tank does not hold: you pump it up and a day later it is back to zero.
- The tank is much heavier than it should be because it is completely full of water.
First rule out the simple cause — a low air charge. See “How to check and top up the air in a pressure tank”. If no water comes out of the valve and the pressure holds, the bladder is intact.
Which tanks can be repaired
A replaceable bladder is fitted in tanks with a flange — a round bolted metal plate through which the water connects. Some tanks have a fixed diaphragm bonded or crimped into the shell: these are not repaired but replaced. Choose a new bladder by tank volume and flange diameter, ideally from the same maker.
Step-by-step replacement
- Switch off the pump, close the valve to the tank and open the nearest tap to release the pressure.
- Let all the air out through the valve, then disconnect the tank from the pipe and drain the water.
- Undo the flange bolts in a criss-cross pattern and remove the flange. Pull out the old bladder — in large tanks its neck is also held by a pin on the opposite side.
- Rinse the tank and inspect the inside: heavy rust means water has been sitting on the metal for a long time, and the tank is better replaced.
- Insert the new bladder, spread it out and bring its neck through the flange opening. Refit the flange and tighten the bolts gradually in a criss-cross pattern so the rubber seats evenly.
- Pump air into the empty tank to 0.2–0.3 bar below the pump cut-in pressure, and only then reconnect the water.
Bladders and flanges are in pressure tank accessories. If it is simpler to replace the tank, see “How to choose a pressure tank”.