
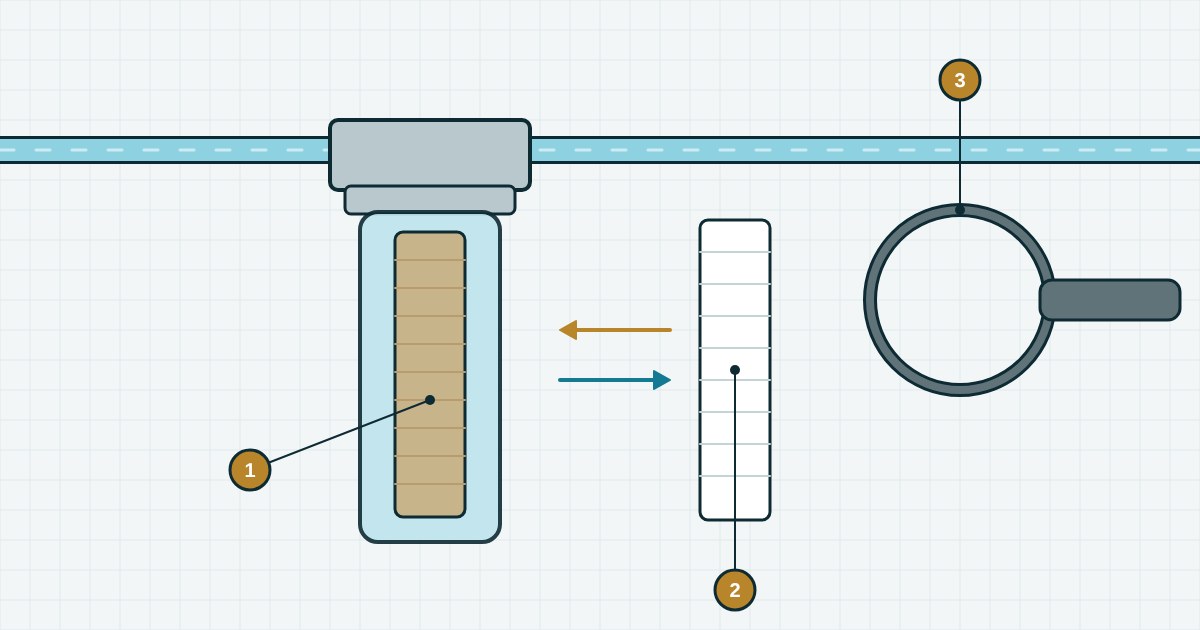
The cartridge in a whole-house filter is a consumable. A clogged cartridge reduces pressure throughout the house, and a carbon cartridge that has not been changed for a long time becomes a source of bacteria itself. Replacing it takes ten minutes.
What the diagram shows
1 — the old cartridge in the housing, 2 — the new cartridge, 3 — the housing wrench.
When to replace it
- Sediment (spun polypropylene, string-wound) — when it looks visibly dirty or the pressure drops, usually every 1–3 months.
- Carbon — at the interval the manufacturer gives, usually every 3–6 months, even if it looks clean.
- If the filter has gauges before and after — when the pressure difference has grown by 0.5–1 bar.
Step by step
- Close the valves before and after the filter. If there are none, shut off the main supply. Put a bowl under the housing.
- Press the pressure release button on the filter head (if there is one) or open any tap after the filter.
- Unscrew the housing anticlockwise with the wrench. If it is stuck, tap the wrench with your palm — do not pull the housing sideways.
- Take out the old cartridge, pour out the water and wash the housing with a non-abrasive sponge.
- Remove the O-ring from its groove, wipe the ring and the groove and grease the ring with silicone grease. Replace a cracked ring.
- Remove the wrapping from the new cartridge and seat it in the centre of the housing.
- Screw the housing on by hand until it stops, then no more than a quarter turn with the wrench.
- Slowly open the valve before the filter, bleed the air with the button and check for drips. Then open the valve after the filter.
Do not tighten the housing with all your strength: the plastic thread cracks and the housing may burst under pressure.
Tip
Write the replacement date on the housing with a marker. Flush a new carbon cartridge — open a tap and let the water run for 3–5 minutes until the carbon dust is gone.
Cartridges and housings are in our water filters section.